DAB+ Radio with Bluetooth Speaker and FM Tuner – Colour Display User Guide
Introduction:
Here, you will find the official user manual for the GTMedia Z3B radio. We have cut the guide up to make it easier to follow, typed out and rephrased/expanded some text separately, and corrected some grammatical issues to assist in following in point form. Our typed-out version will appear above the images in the official user manual.
Getting Started
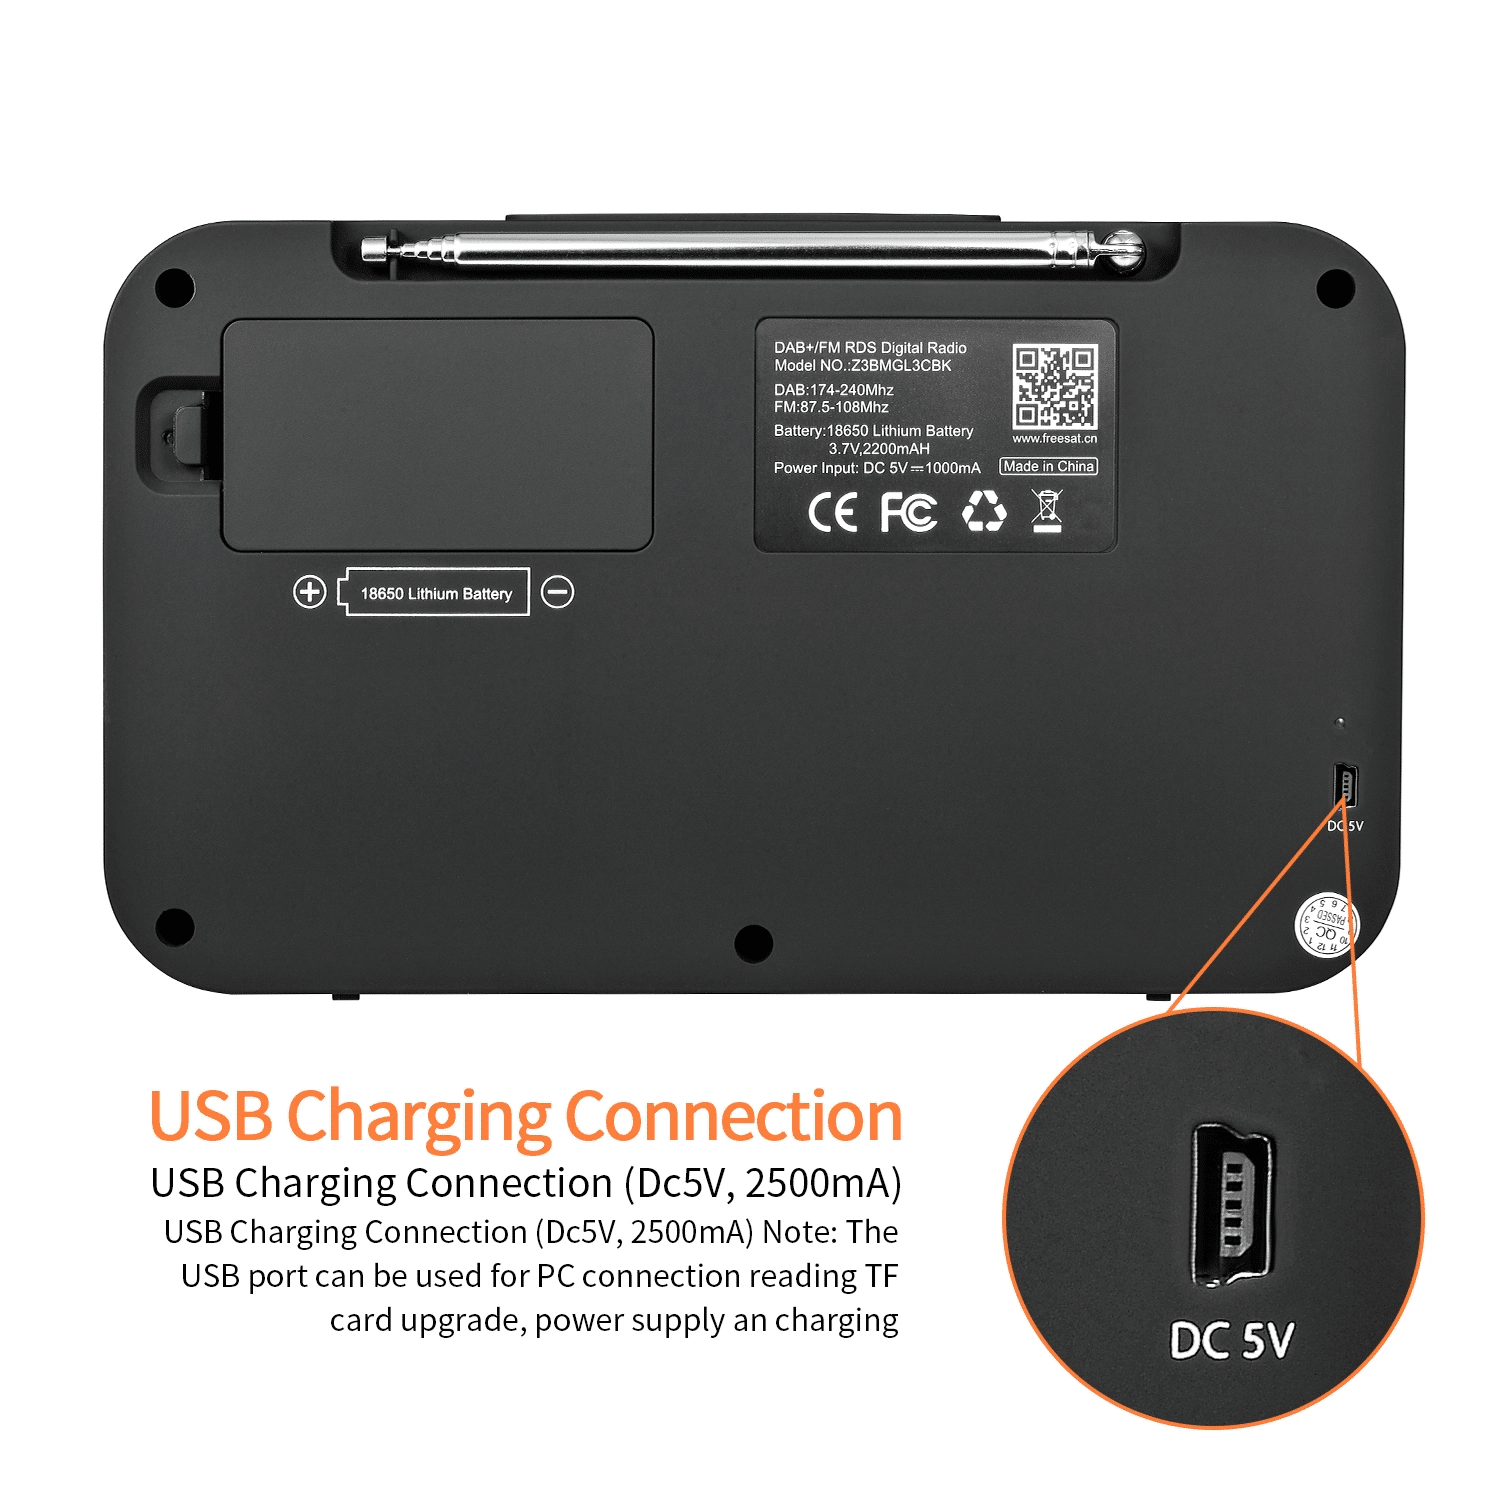
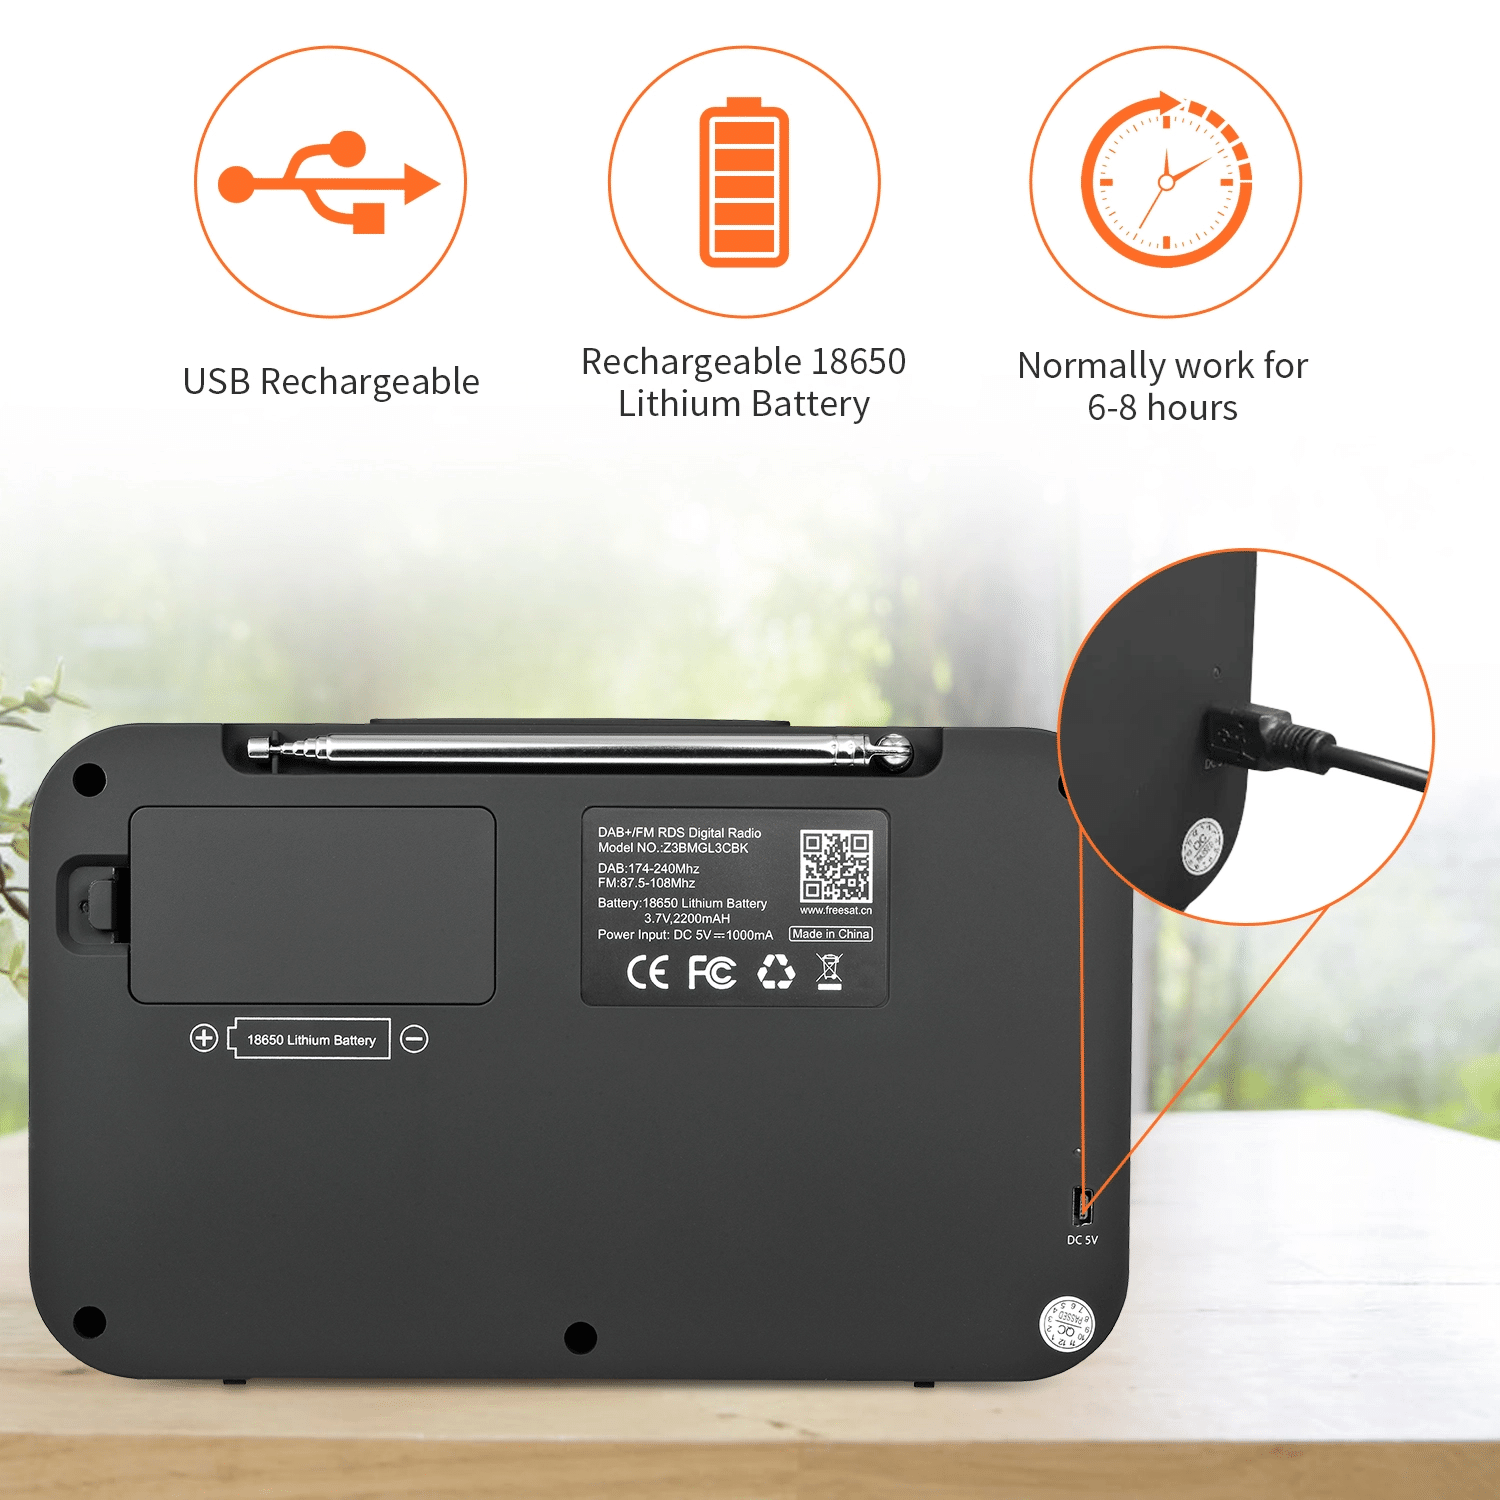
- Connect the AC adapter or insert 18650 lithium batteries. Then, extend the antenna.
- When the AC adapter is connected, the power source will automatically switch from batteries to AC power, even if batteries are inserted.
- To use the unit on batteries:
- To use the unit on battery power, unplug the AC power adapter’s connector from the DC IN jack. The unit cannot be powered by the AC adapter plugged into the DC IN jack.
- TIPS:
- The backlight will turn off if no operation is performed for ~30 seconds to minimise power consumption.
- If there is no radio signal or music playback for ~30 minutes, the radio will automatically turn off to reduce power consumption.
- A branded battery is recommended. Do not recommend using a less-known or inferior brand of lithium battery and a battery with a capacity lower than 2,000mAh, as this type of battery has a very short life.
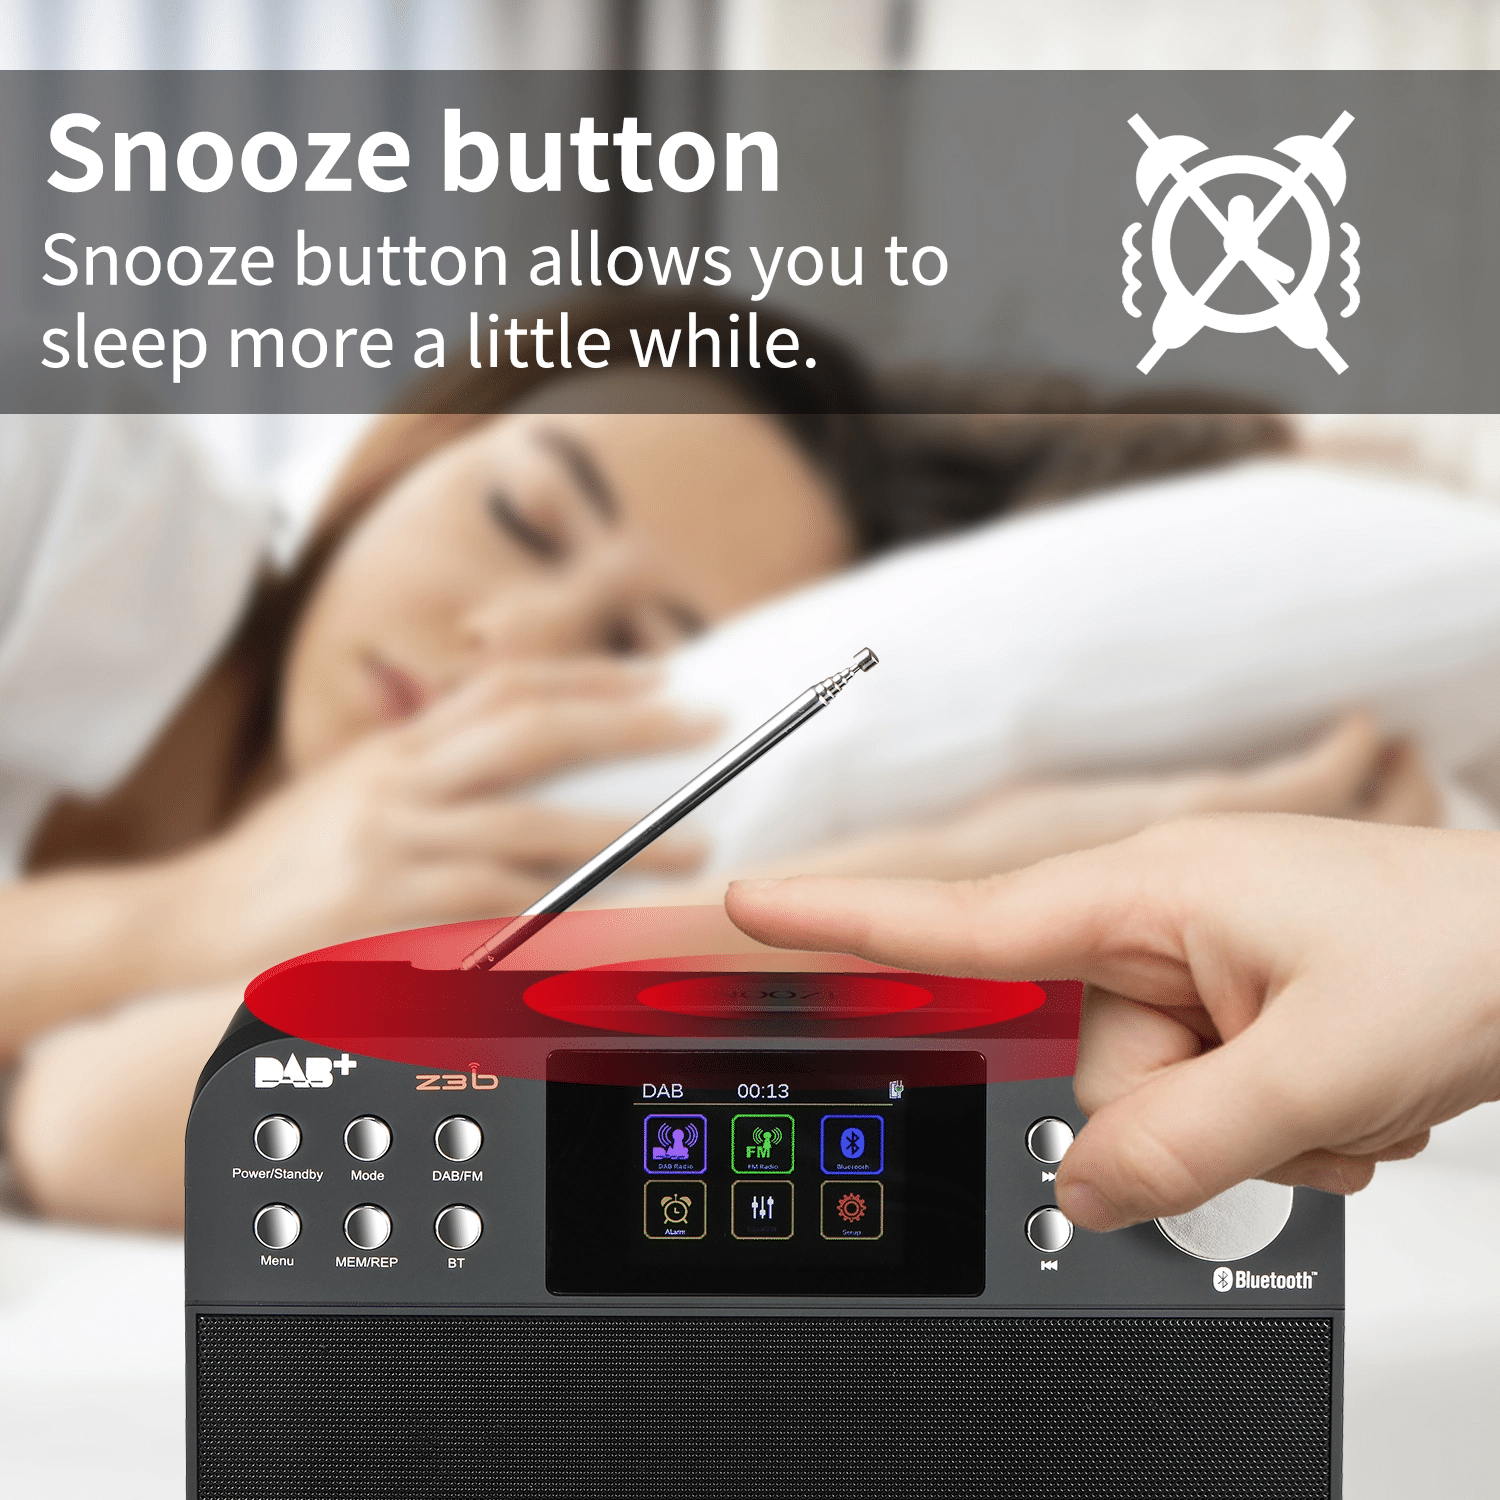
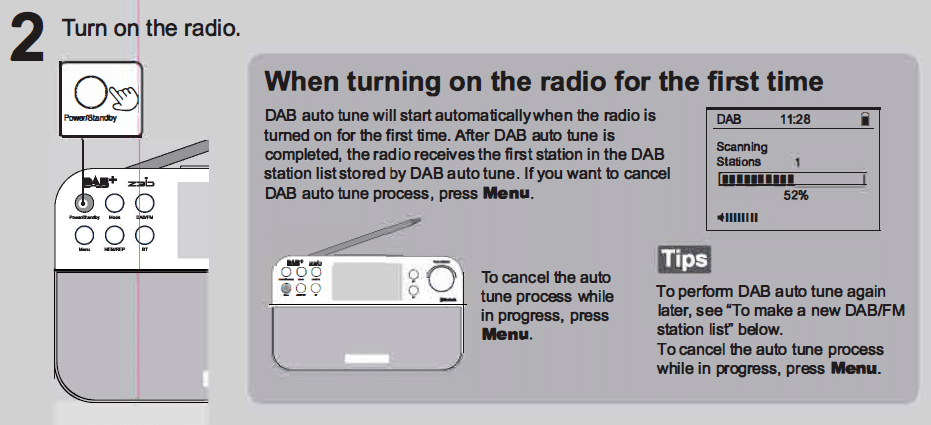
- Turn on the radio.
- Turning on the radio for the first time:
- DAB auto-tune will start automatically when the radio is turned on for the first time. After the DAB auto-tune is completed, the radio receives the first station in the DAB station list stored by the DAB auto-tune. If you want to cancel the DAB auto-tune process, press the Menu Button.
- To cancel the auto-tune process while in progress, press the Menu Button.
- TIPS:
- To perform DAB auto-tune again, see “To make a new DAB/FM station list” below.
- TIPS:
- Turning on the radio for the first time:

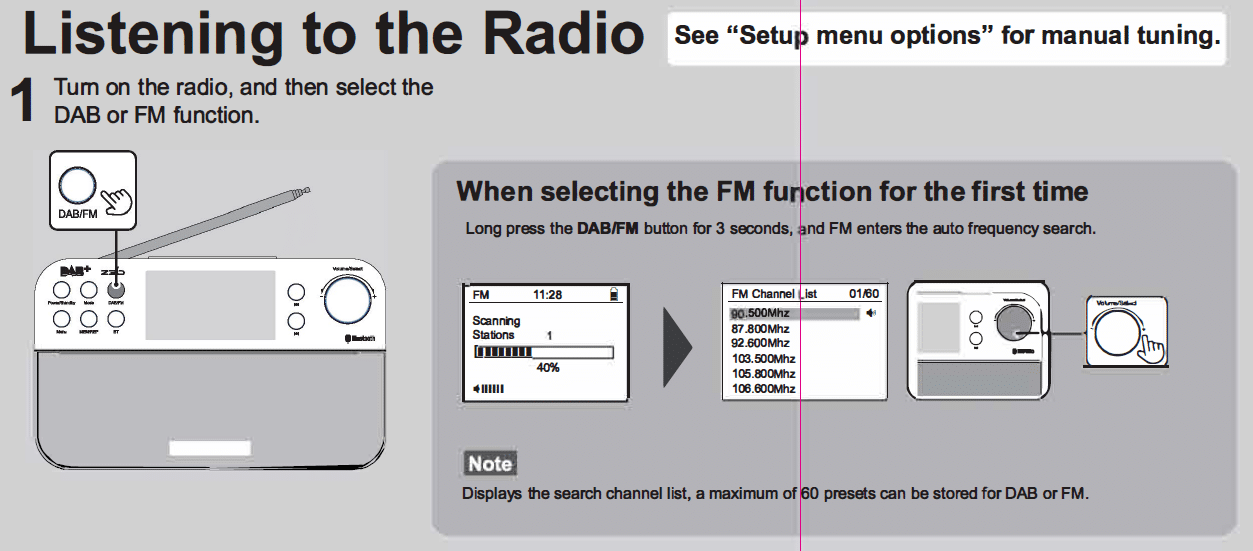
Listening to the Radio:
- Turn on the radio, and then select the DAB or FM function.
- When selecting the FM function for the first time.
- Press and hold the DAB/FM button for ~3 seconds, and FM enters the auto frequency search.
- NOTE:
- Displays the search channel list; 60 presets can be stored for the DAB or FM.
- NOTE:
- Press and hold the DAB/FM button for ~3 seconds, and FM enters the auto frequency search.
- When selecting the FM function for the first time.
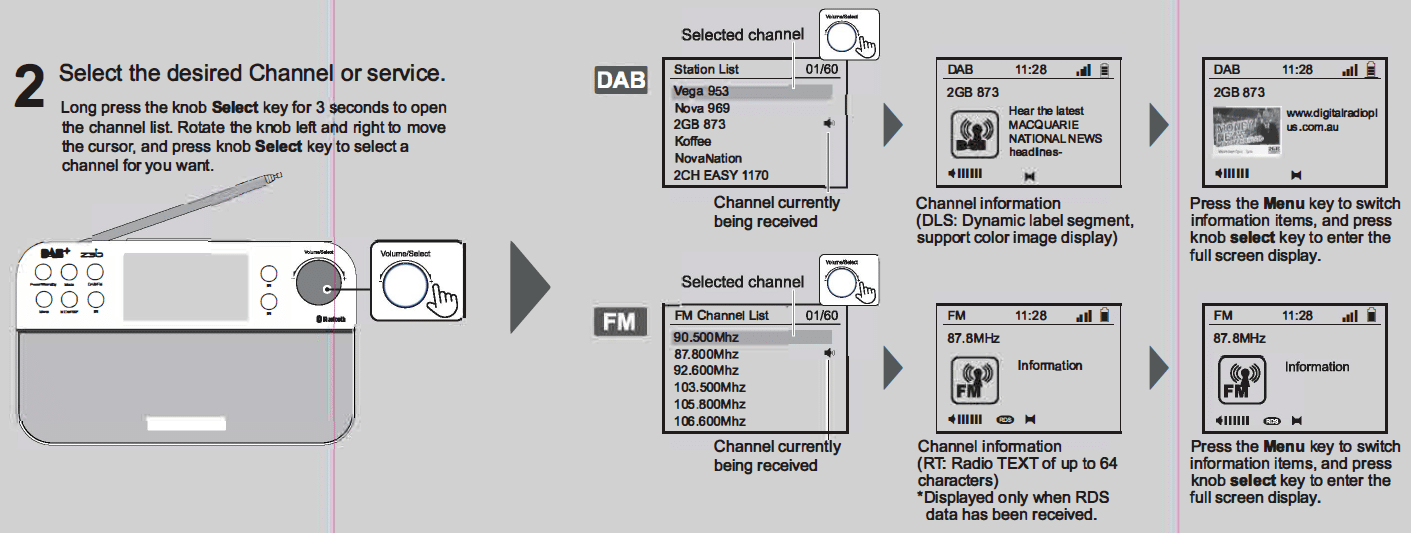
- Select the desired channel or services.
- Press and hold the knob Select key for ~3 seconds to open the channel list. Rotate the knob left and right to move the selection, and press the knob/select key to select a channel.
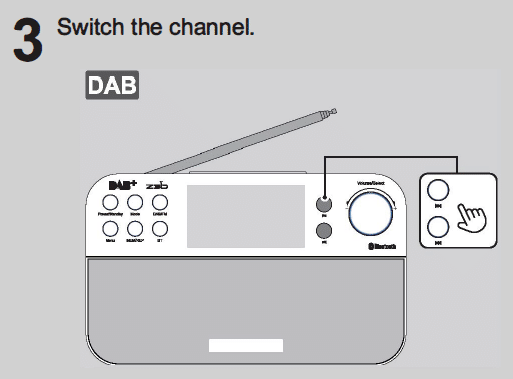
- Switching Channels.
- Press the forward or back arrow buttons to change channels in the order they are saved on the radio.
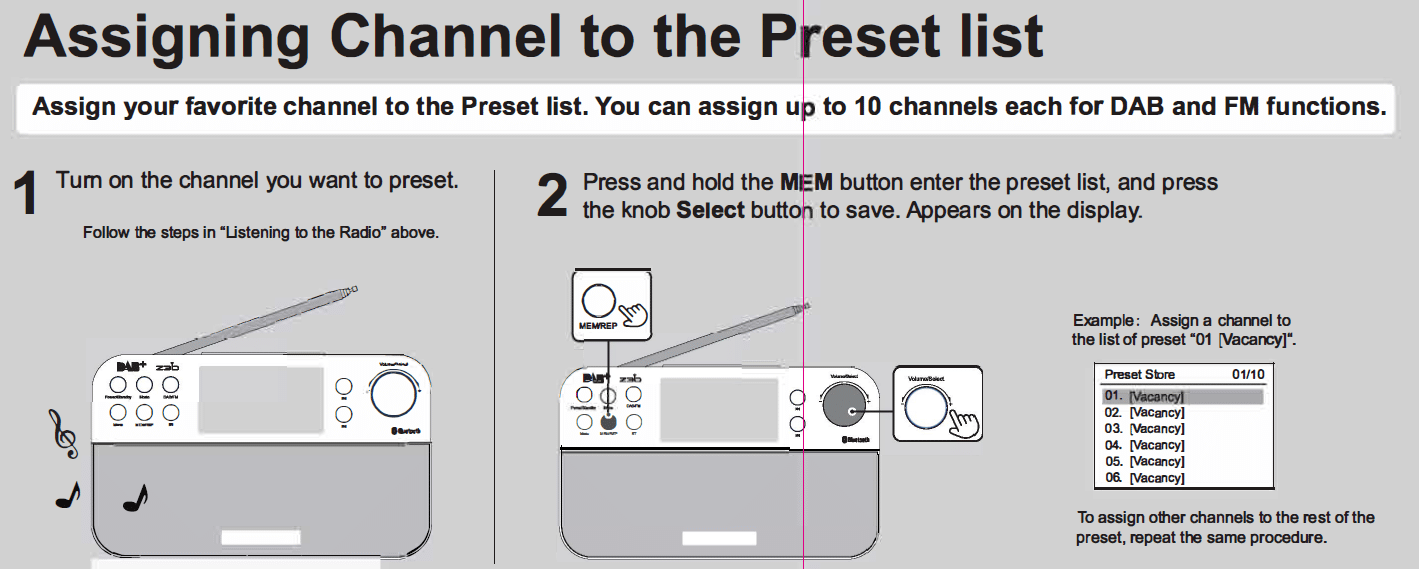
Assigning a Channel to the Preset List
You can assign your favourite channel to the preset list. For DAB and FM functions, you can assign up to 10 channels each.
- Turn on the channel you want to preset.
- Follow the steps in “Listening to the Radio” above.
- Press and hold the MEM button to enter the preset list, and press the Knob/Select to save. Appears on the display.
- Assign the selected channel to a vacant preset or overwrite an existing one.
- To assign additional channels, repeat this process.
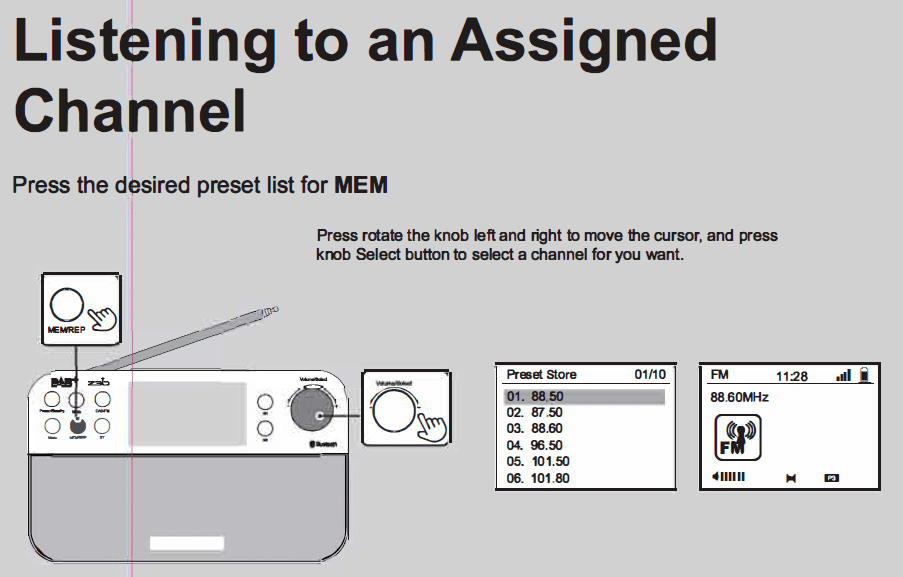
Listening to an Assigned Channel
- Press the MEM button to display the preset list.
- Use the rotating knob to scroll through the saved presets.
- Press the Knob/Select button to select the channel.
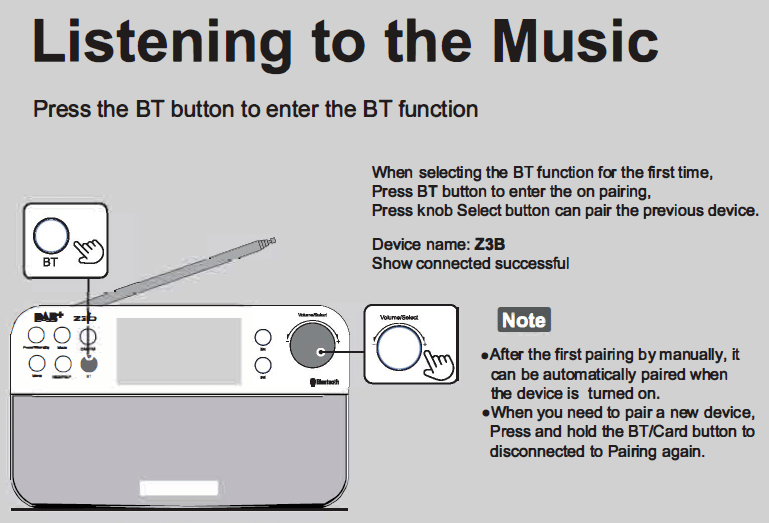
Connect to the Radio via Bluetooth
This will allow you to use the radio as a Bluetooth speaker.
- Press the BT button to enter the Bluetooth mode.
- When using this function for the first time, the device will automatically enter Pairing Mode.
- Device Name: Z3B
- To pair another device, press and hold the BT/Card button to disconnect any connected devices and re-enter pairing mode.
- When using this function for the first time, the device will automatically enter Pairing Mode.
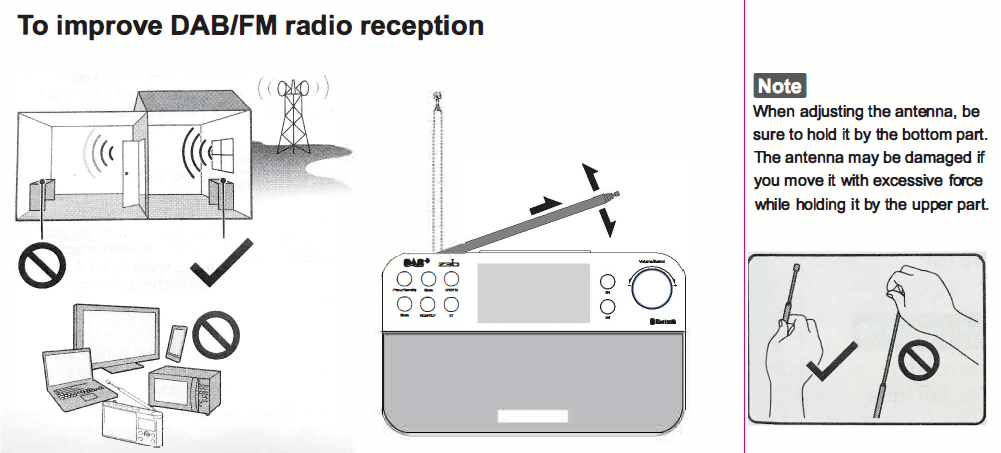
Improve DAB/FM Radio Reception
- Ensure the antenna is raised and extended.
- Try adjusting the direction in which the antenna is pointing.
- Move the radio/antenna closer to a window as the radio waves signal strength increases. The closer it is to the outside, the drastically reduced the signal strength the further away it is.
- Avoid devices that broadcast/use various radio frequencies, such as Mobile Phones, Microwaves, Computers, etc.
- NOTE:
- When adjusting the antenna, be sure to hold it by the bottom part. The antenna may be damaged by moving it with excessive force while holding it by the upper part.
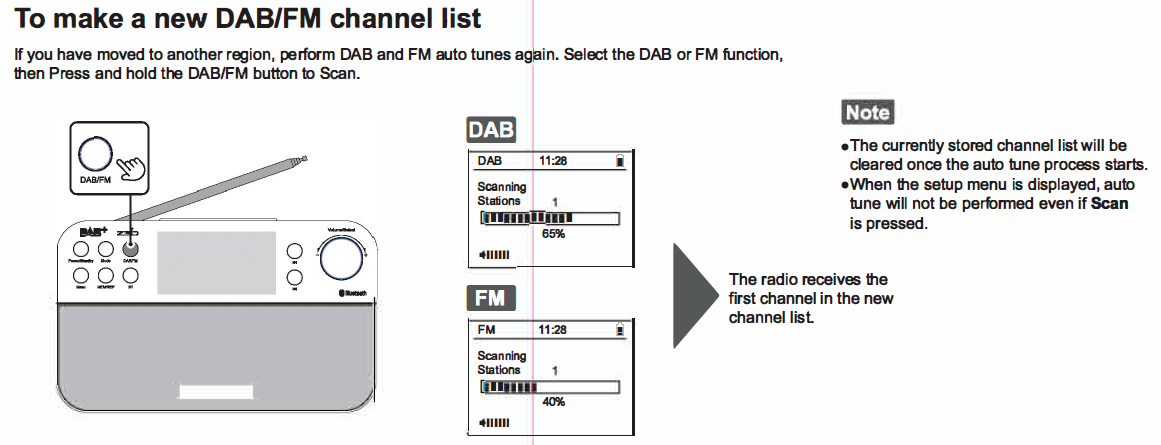
Creating a new DAB/FM Channel List
If you have moved your radio, you may need to rescan the channel frequencies again to allow the radio to update its presets for the best reception in its new location.
Rescanning DAB Channels:
- Select the DAB mode by pressing the DAB/FM button until the radio is in DAB mode. This can be identified by the letters DAB displayed at the top left of the display.
- Press and hold the DAB/FM button for ~3 seconds. The radio will now enter into channel scanning mode and will proceed to save all DAB channels it can discover.
Rescanning FM Channels:
- Select the FM mode by pressing the DAB/FM button until the radio is in FM mode. This can be identified by the letters FM displayed at the display’s top left.
- Press and hold the DAB/FM button for ~3 seconds. The radio will now enter into channel scanning mode and will proceed to save all FM channels it can discover.
Note:
- The currently stored channels on the radio will be erased once the auto-scanning mode commences.
- When the setup menu is displayed, auto-tune cannot be performed.
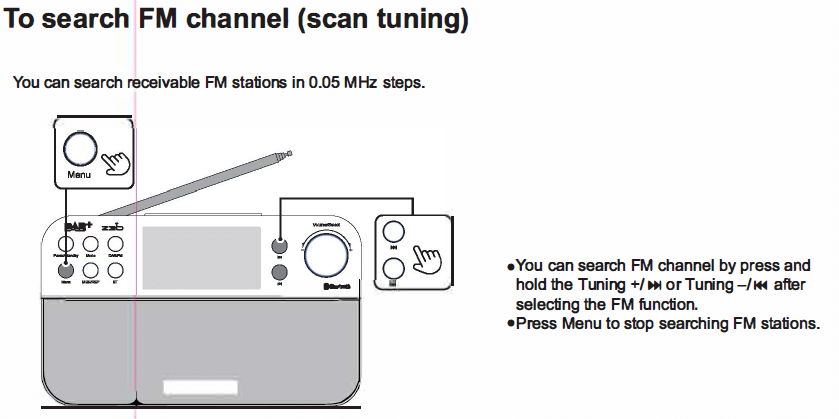
Manually Tuneing an FM Channel
You can also manually set an FM channel instead of using the list of pre-scanned FM channels covered in earlier steps.
Manually set FM Frequency:
- Enter FM mode by pressing the DAB/FM button until FM is displayed in the top left of the display.
- Short press either the back or forward arrow buttons to manually change the frequency.
Scan to subsequent FM Frequency:
- Enter FM mode by pressing the DAB/FM button until FM is displayed in the top left of the display.
- Press and Hold for ~3 seconds, either the forward or back arrow buttons, depending on the direction of frequency. The radio will start scanning until the subsequent Frequency is found and will stay on that frequency for a few seconds and continue scanning and repeating this process until manually stopped by the user.
Notes:
- When manually setting the FM Frequency, the frequency changes in 0.05 MHZ intervals.
- Press the Menu button to stop the auto-scanning function and stay on the current station.
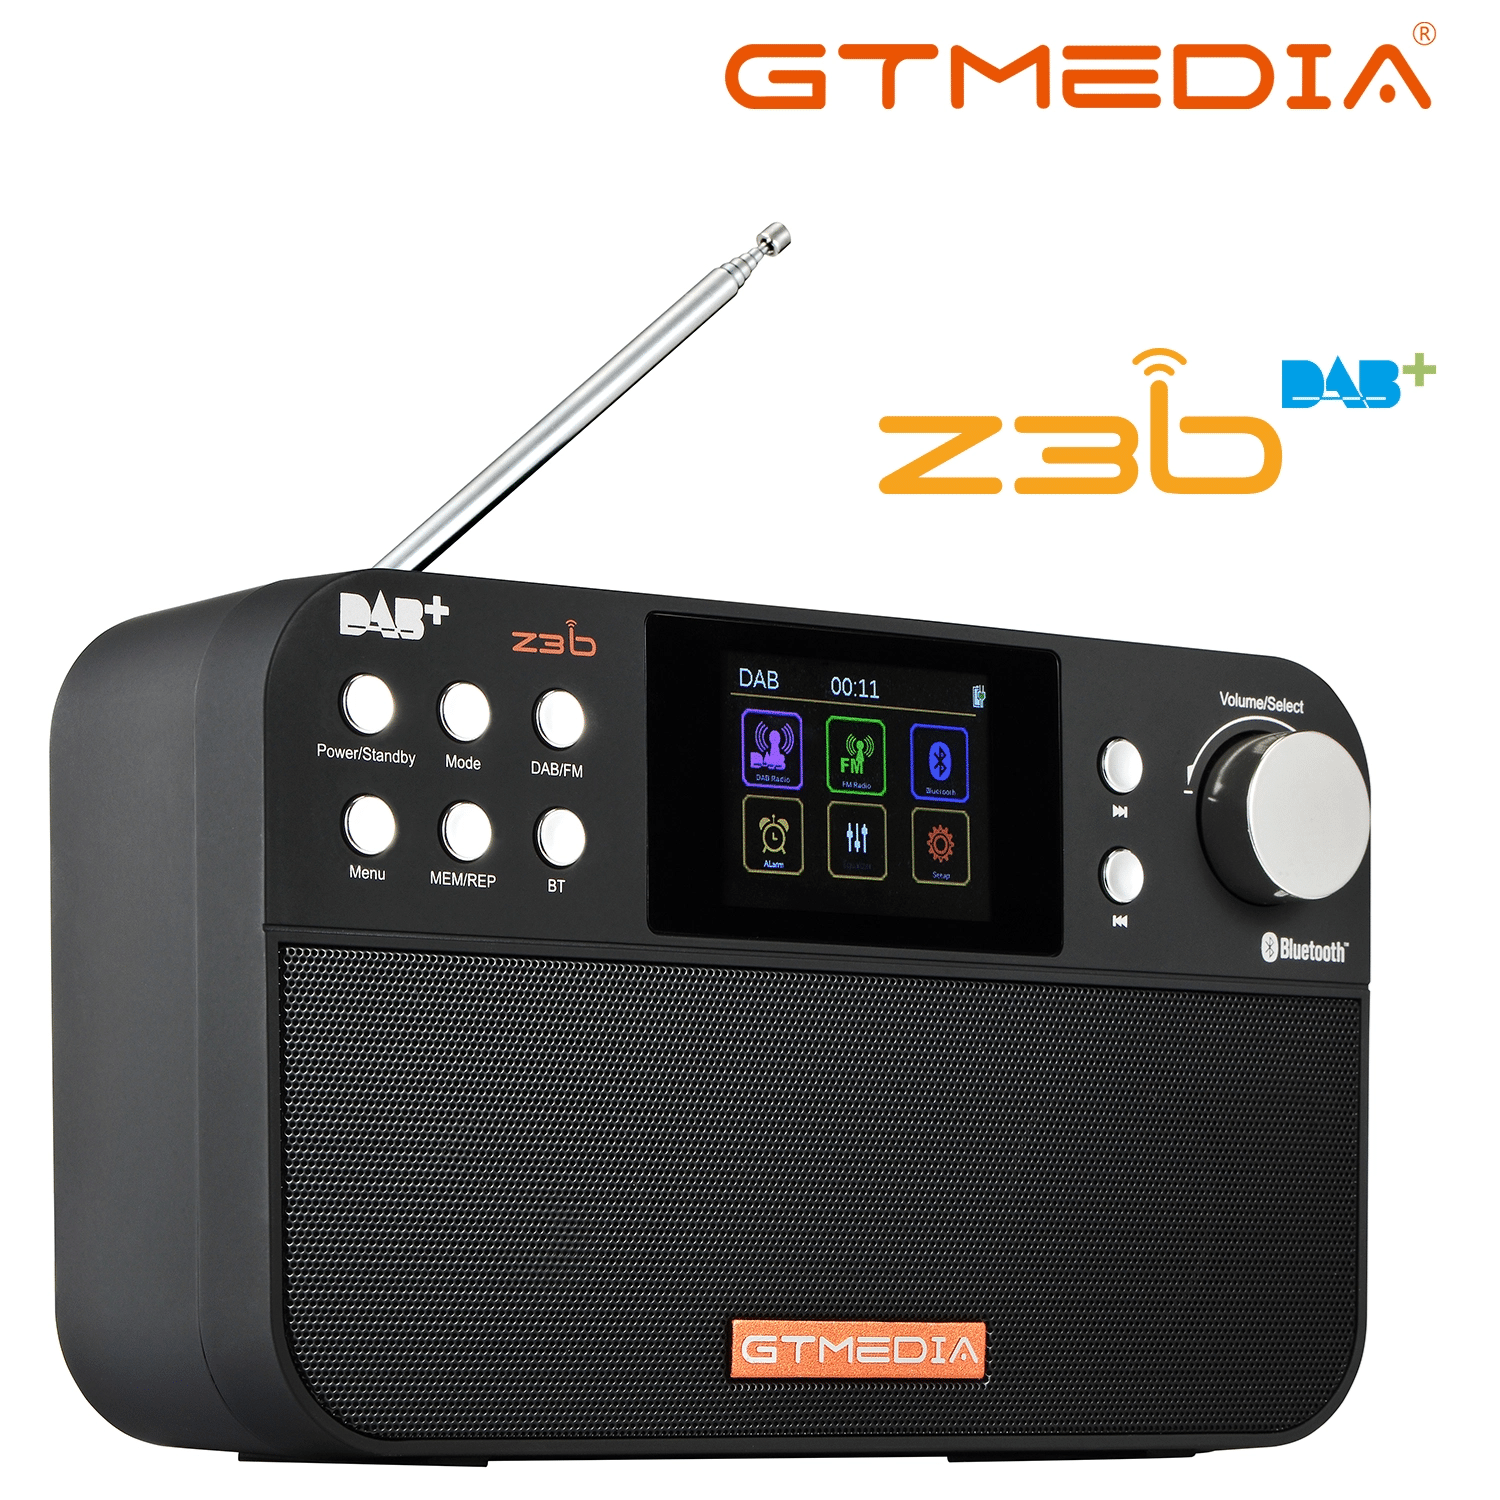
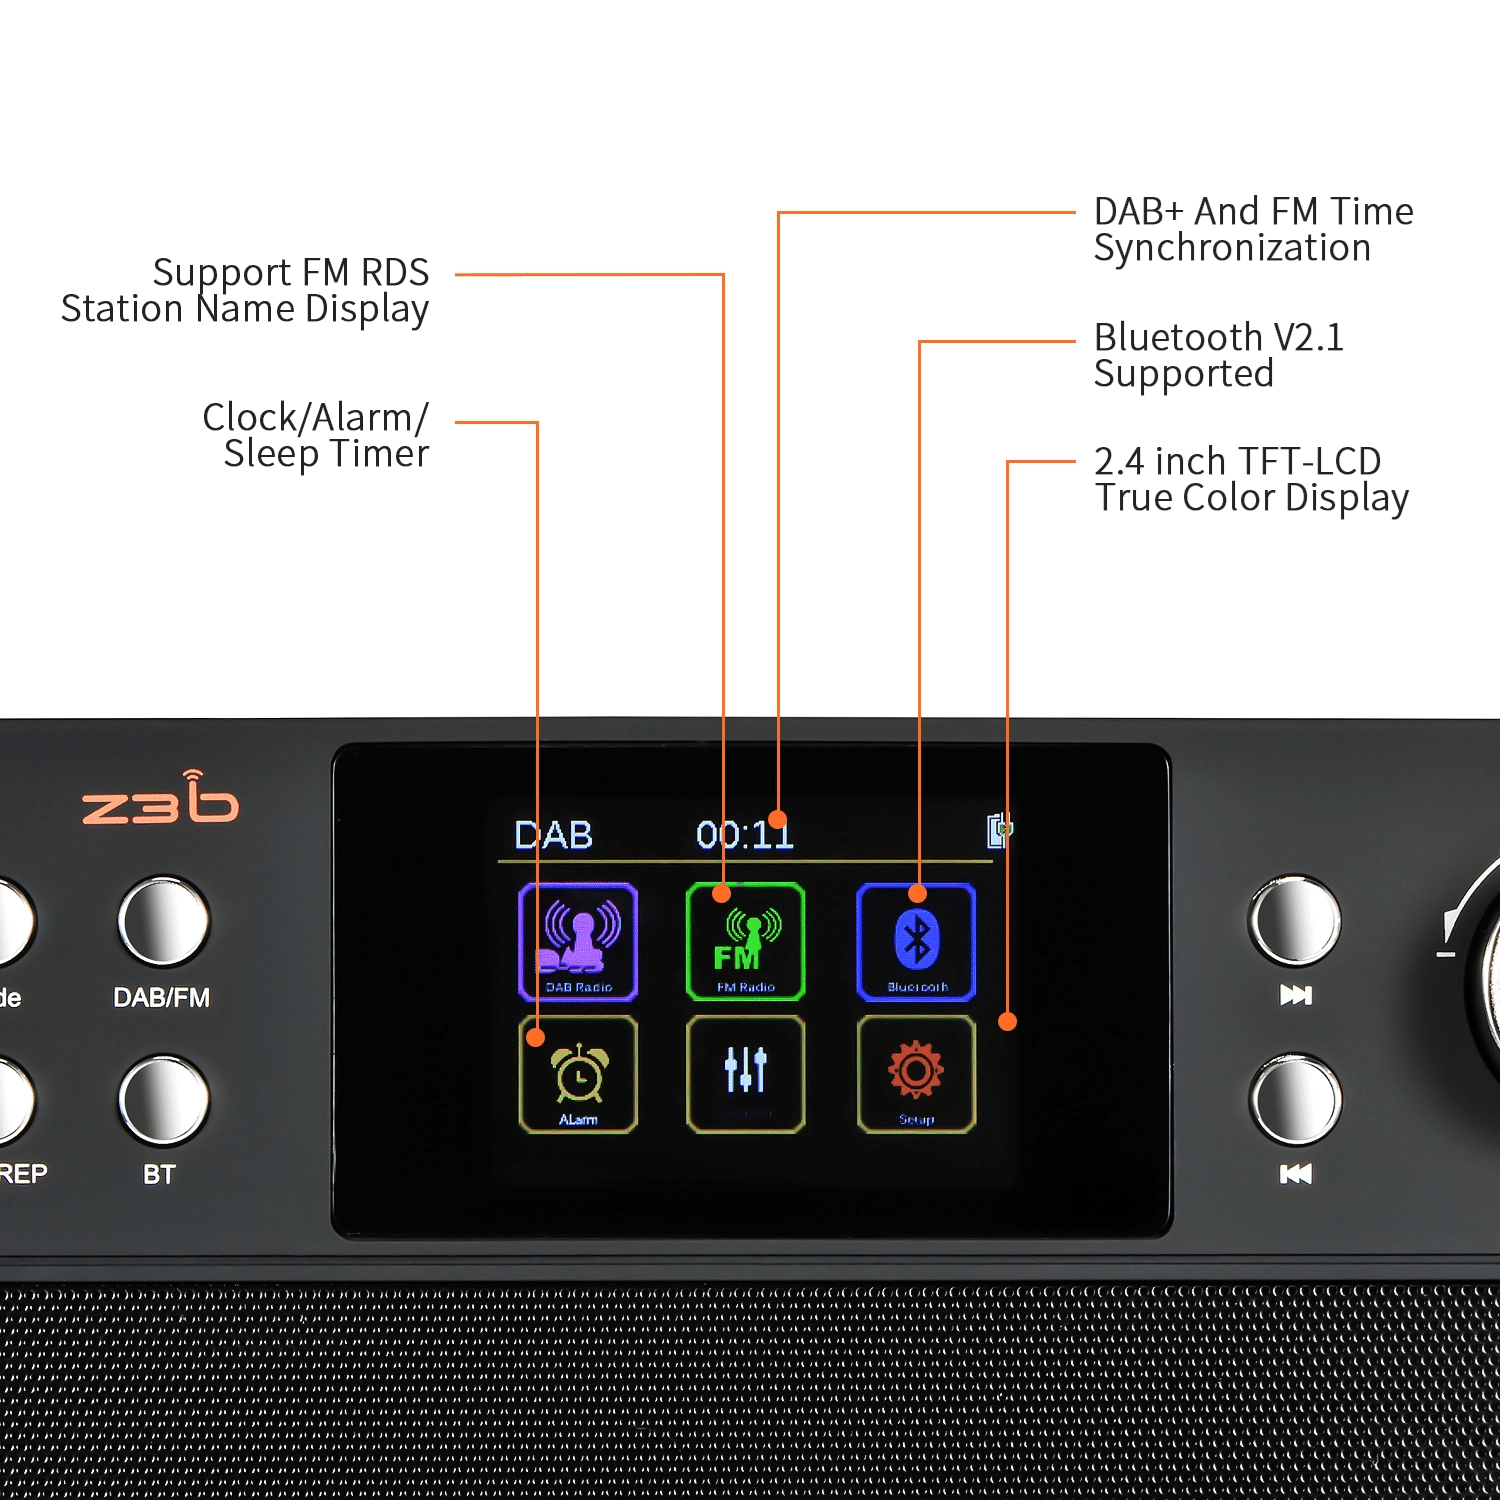
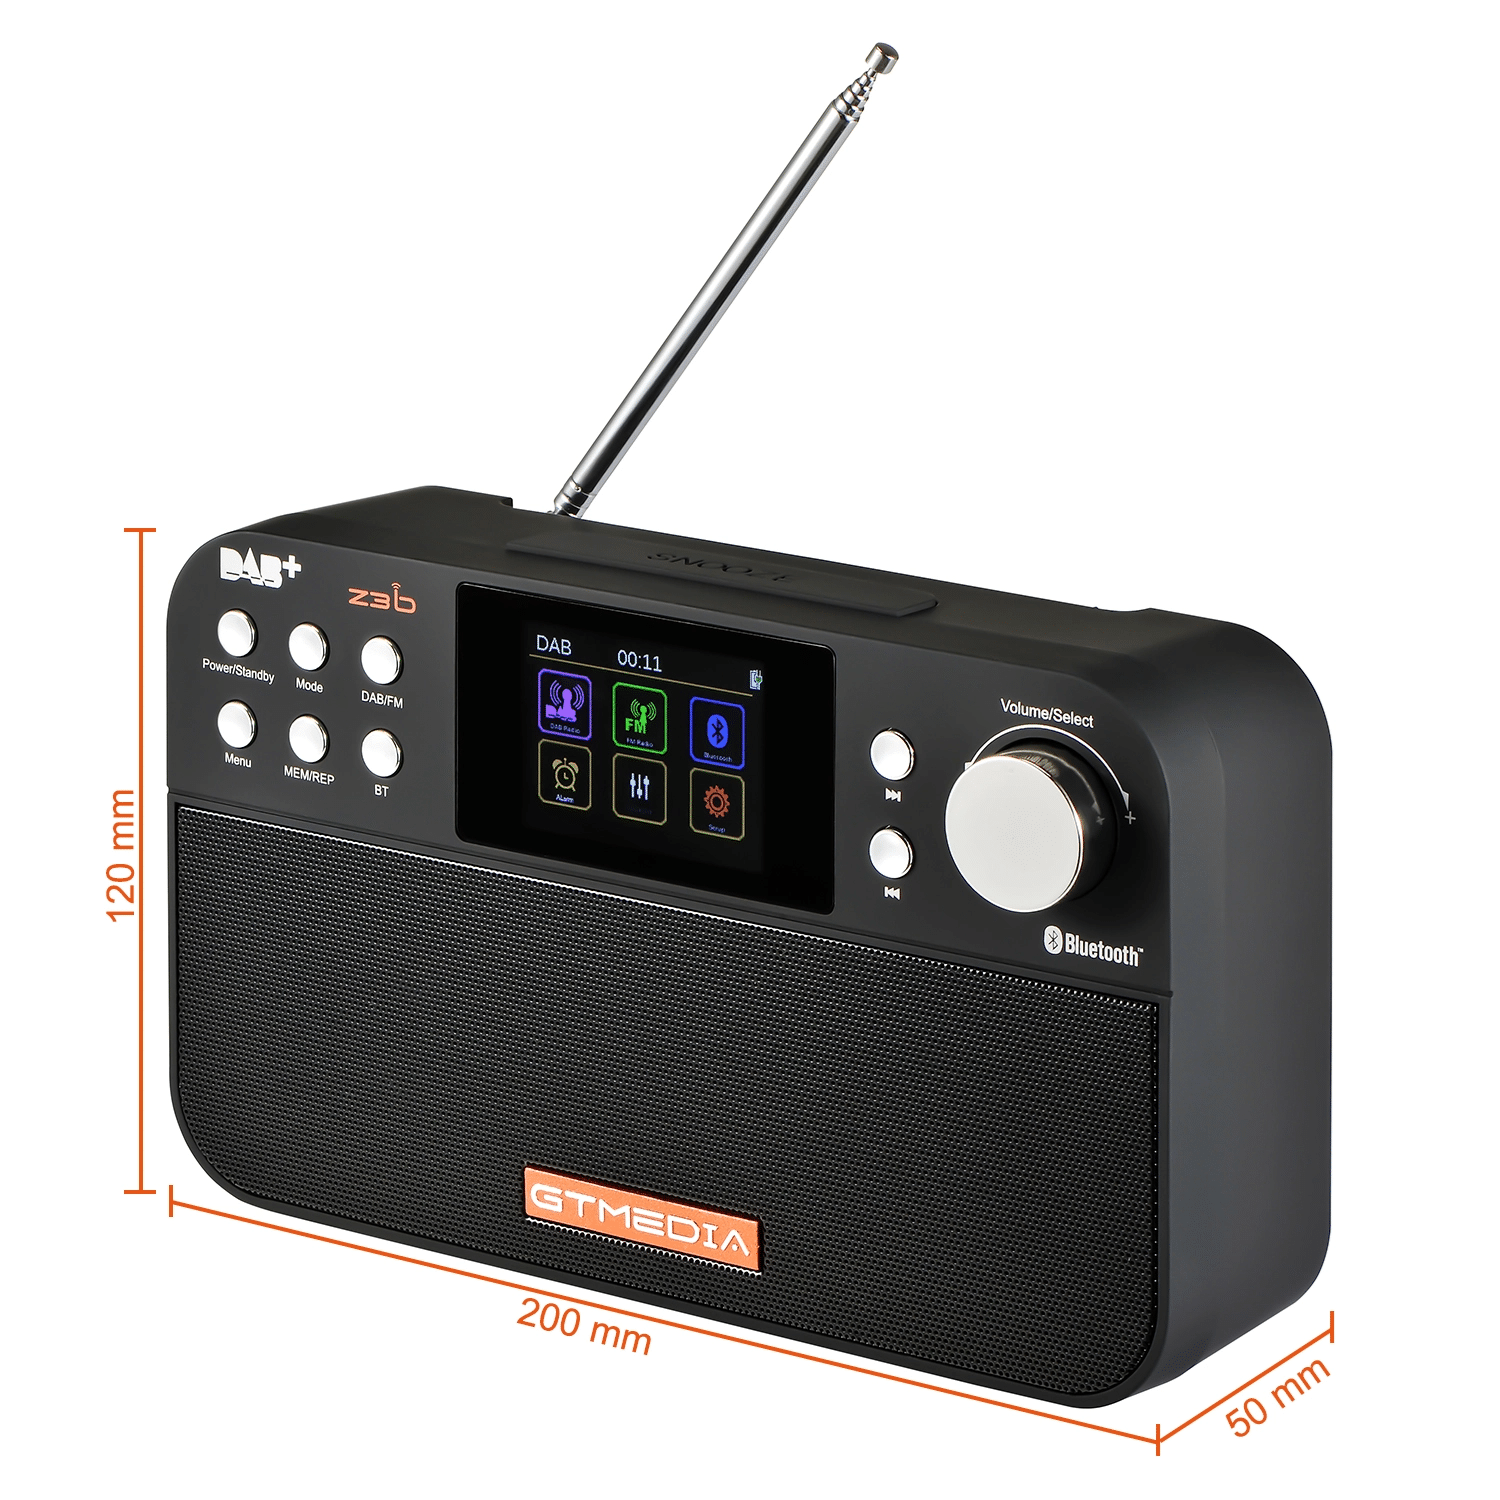
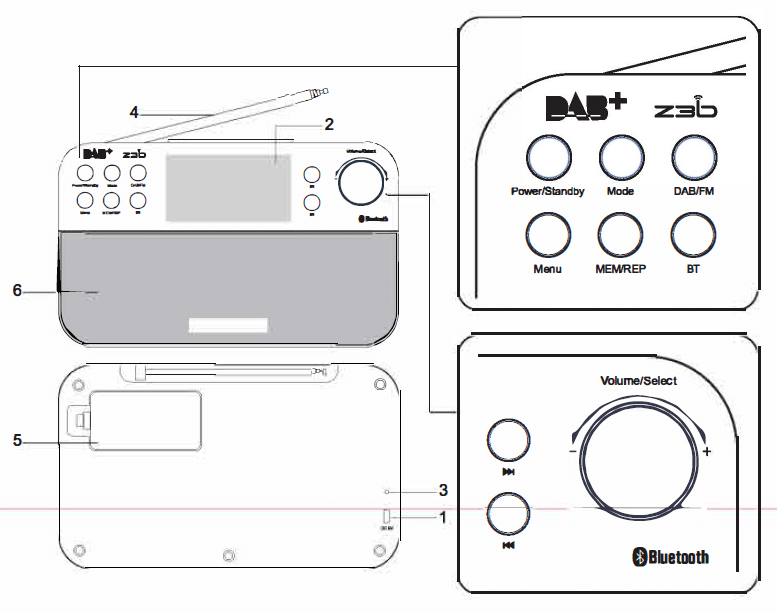
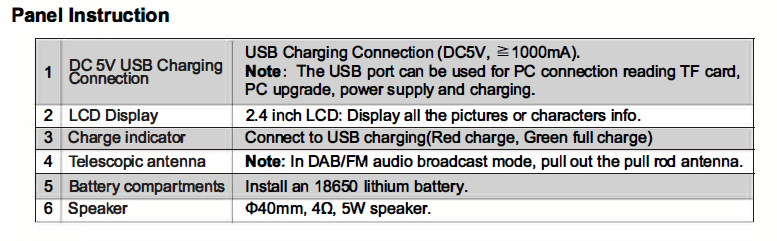
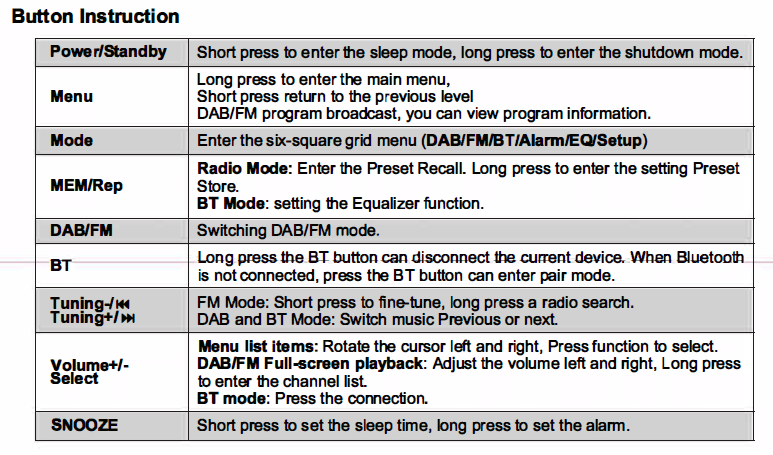
Guide to Parts and Controls
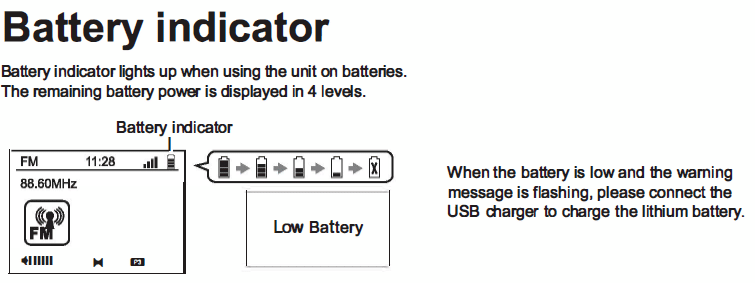
Battery Indicator
The battery indicator light illuminates when the radio is operating on battery power. The remaining battery power is displayed in four levels, indicating the amount of charge remaining in the battery.
When the battery’s charge starts to run low, a warning message is flashed on the display advising of a Low Battery.
Setup Menu Options
- Press and hold the Menu button to enter the radio menu.
- Use the Volume knob to scroll through the menu items.
- Press the Volume/Select knob to select a menu item.
- Use the Volume knob to scroll through the options.
- Press the Volume/Select knob to confirm selection.
Notes:
- To go back to the parent menu level, press the Menu button.
- To exit the setup menu, press the Menu button again.

System Setup Menu Options

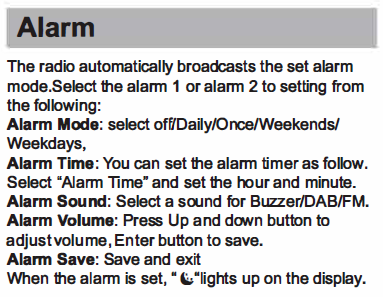
Alarm
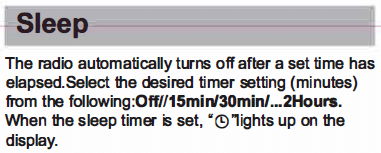
Sleep
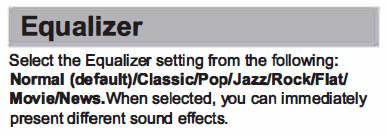
Equalizer
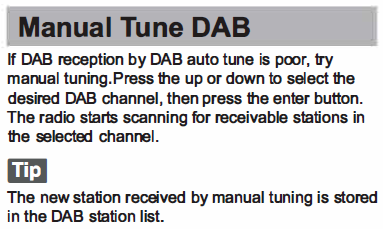
Manual Tune DAB
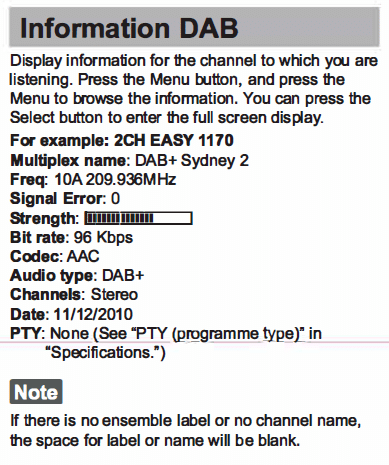
Information DAB
DRC: Dynamic Range Control DAB

RDS Feature
What is RDS?
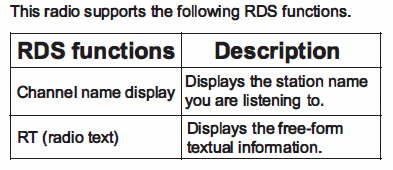
Using the RDS Function

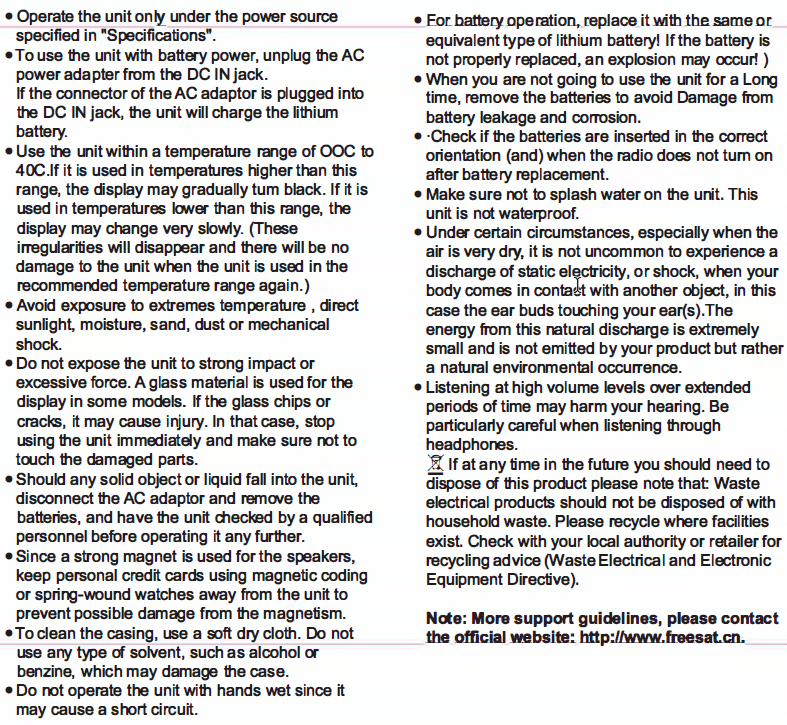
Precautions
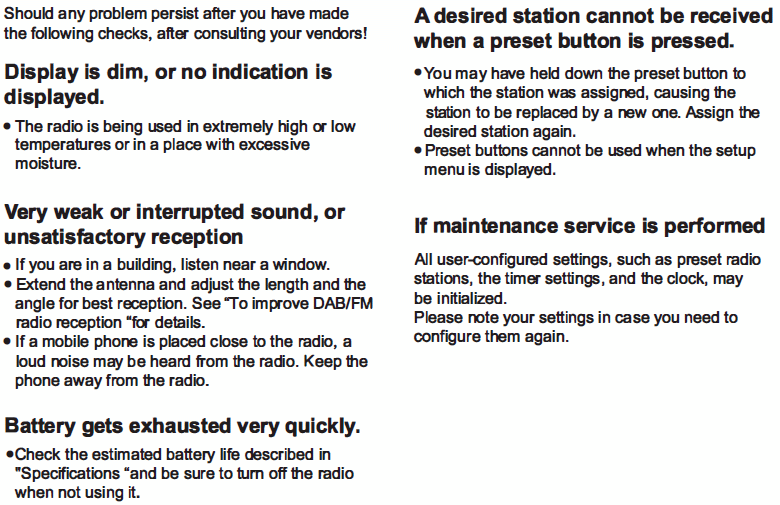
Troubleshooting
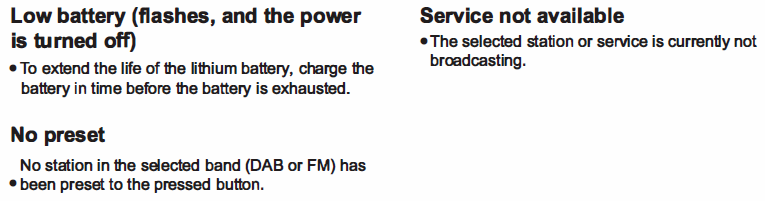
Messages
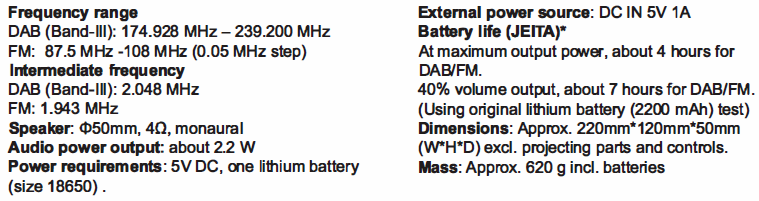
Specifications