Learn about binary semaphores and its application in FreeRTOS in this article.
Introduction
There are several instances when you need to communicate inter-task or between a function and a task. The reasons may vary. You could want to transfer chunks of data between your tasks, or you could want some sort of synchronization mechanism for your system to run as you expect it to, with efficiency in mind. FreeRTOS provides you with several APIs for these kinds of situations.
One example of inter-task synchronization APIs are the binary semaphore APIs.
What are Semaphores?
You can think of semaphores as queues with data treated as counting elements, but the actual data itself is insignificant (as opposed to queues). The data is treated like a token that can be given (using the xSemaphoreGive API) or received (using the xSemaphoreTake API). Once you have this give and take relationship, you can control the flow of your program or tasks. Additionally, semaphores have practical applications in interrupt or peripheral events that may seem initially awkward to work with on an RTOS environment.
Binary Sempahore
A binary semaphore is like a 1-bit queue used for synchronization purposes. They have practical applications on program flow between tasks. For example, a binary token can be checked to see if a task should continue running statements or block itself for other tasks to run. This token can be given or activated through another task.
Additionally, binary tokens are mostly used for deferred interrupt processing to a task. Deferred interrupt processing means a lengthy ISR code can instead be written or transferred to a task, freeing interrupt processing time and possibly preserving the structural timing requirements required your tasks.
Below is a simple example demo of a binary semaphore. Here, a task polls a push button switch. When the push button is pressed, a binary semaphore token is given to another task. That other task receives the token, unblocks itself, and continues to run it’s statements by flashing an LED. You can refer to WORKING WITH ESP32 GPIO PORTS IN ESP-IDF as reference for the GPIO functions.
					#include <stdio.h>
#include "driver\gpio.h"
#include "freertos\FreeRTOS.h"
#include "freertos\task.h"

// Define the GPIO pin for the interrupt
#define PUSH_BUTTON1 GPIO_NUM_13
#define LED1 GPIO_NUM_4
#define LED2 GPIO_NUM_5

SemaphoreHandle_t xBinarySemaphore;

void LED_task1(void *parameters);
void LED_task2(void *paramters);
void push_button_task(void *paramters);

void app_main(void)
{
    // Configure

    // PUSH BUTTON Pin
    gpio_set_direction(PUSH_BUTTON1, GPIO_MODE_DEF_INPUT);
    gpio_pullup_en(PUSH_BUTTON1);


    // LED Pin
    gpio_set_direction(LED1, GPIO_MODE_OUTPUT);
    gpio_set_direction(LED2, GPIO_MODE_OUTPUT);

    //Create Tasks and Semaphore
    xBinarySemaphore = xSemaphoreCreateBinary();
    xTaskCreate(LED_task1, "led1 task", 1024, NULL, 2, NULL);
    xTaskCreate(LED_task2, "led2 task", 1024, NULL, 2, NULL);
    xTaskCreate(push_button_task, "push_button_task", 1024, NULL, 2, NULL);


    for(;;)
    {
        vTaskDelay(100);
        // no return from here
    }

}

void LED_task1(void *paramters)
{
    for(;;)
    {
        gpio_set_level(LED2, 1);
        vTaskDelay(300/portTICK_PERIOD_MS);
        gpio_set_level(LED2, 0);
        vTaskDelay(300/portTICK_PERIOD_MS);
    }

}

void LED_task2(void *paramters)
{
    for(;;)
    {
        xSemaphoreTake(xBinarySemaphore, portMAX_DELAY);
        gpio_set_level(LED1, 1);
        vTaskDelay(300/portTICK_PERIOD_MS);
        gpio_set_level(LED1, 0);
        vTaskDelay(300/portTICK_PERIOD_MS);
        gpio_set_level(LED1, 1);
        vTaskDelay(300/portTICK_PERIOD_MS);
        gpio_set_level(LED1, 0);
        vTaskDelay(300/portTICK_PERIOD_MS);

    }
}

void push_button_task(void *paramters)
{
    for(;;)
    {
        if(gpio_get_level(PUSH_BUTTON1) == 0)
        {
            xSemaphoreGive(xBinarySemaphore);
        }
        vTaskDelay(300/portTICK_PERIOD_MS);

    }
}
You’ll notice at the start that a semaphore type named xBinarySemaphore is declared as SamaphoreHandle_t. This is the binary token to be passed.
SemaphoreHandle_t xBinarySemaphore;
Next, in main, the tasks and semaphore are created
					//Create Tasks and Semaphore
    xBinarySemaphore = xSemaphoreCreateBinary();
    xTaskCreate(LED_task1, "led1 task", 1024, NULL, 2, NULL);
    xTaskCreate(LED_task2, "led2 task", 1024, NULL, 2, NULL);
    xTaskCreate(push_button_task, "push_button_task", 1024, NULL, 2, NULL);
One task LED_task1() simply exists to demonstrate a task in the background. The push_button_task() sends a binary token through the xSemaphoreGive() API with the xBinary Semaphore as parameter (which is the binary semaphore). Confluently, while LED_task2() is running, it will try to receive the token through xSemaphoreTake(). Note that xSemaphoreTake() blocks for a certain period (this time, indefinitely through portMAX_DELAY) while it hasn’t received the binary token. Once the token is received, the next statements of LED2_task() commences (LED2_task() is unblocked) effectively flashing the LEDs.
					void push_button_task(void *paramters)
{
    for(;;)
    {
        if(gpio_get_level(PUSH_BUTTON1) == 0)
        {
            xSemaphoreGive(xBinarySemaphore);
        }
        vTaskDelay(300/portTICK_PERIOD_MS);

    }
}
					void LED_task2(void *paramters)
{
    for(;;)
    {
        xSemaphoreTake(xBinarySemaphore, portMAX_DELAY);
        gpio_set_level(LED1, 1);
        vTaskDelay(300/portTICK_PERIOD_MS);
        gpio_set_level(LED1, 0);
        vTaskDelay(300/portTICK_PERIOD_MS);
        gpio_set_level(LED1, 1);
        vTaskDelay(300/portTICK_PERIOD_MS);
        gpio_set_level(LED1, 0);
        vTaskDelay(300/portTICK_PERIOD_MS);

    }
}
Counting Sempahore
A Counting Semaphore is more than a bit since you can count or increment the synchronization pattern. They can be used as counters to manage memory limited resources such as buffers where every access counts. This concept will be discussed on another topic.
A Practical Aplication of a Binary Semaphore
Deferred Interrupt Processing
Here is a simple case of a binary semaphore use case used within an interrupt. When an interrupt happens, the ISR code gives a semaphore to a known task to process the interrupt. This behavior is also known as deferred interrupt processing. Deferred interrupt processing makes code flow more efficient and smoother by allowing a task to take care of interrupt processing. Effectively, you run your interrupt code in the context of a task along with your other tasks.
					#include <stdio.h>
#include "driver\gpio.h"
#include "freertos\FreeRTOS.h"
#include "freertos\task.h"

#define LED_1 GPIO_NUM_4
#define LED_2 GPIO_NUM_5

#define PUSH_BUTTON_1 GPIO_NUM_13

SemaphoreHandle_t xBinarySemaphore;
void Led_task1(void *parameter);
void Led_task2(void *parameter);

// ISR (Interrupt Service Routine) function
void IRAM_ATTR gpio_isr_handler(void* arg) {
    // Handle the interrupt here
    BaseType_t xHigherPriorityTaskWoken;
    xHigherPriorityTaskWoken = pdFALSE;

    xSemaphoreGiveFromISR(xBinarySemaphore, &xHigherPriorityTaskWoken);
    portYIELD_FROM_ISR(xHigherPriorityTaskWoken);
}

void app_main(void)
{

    // configure LED and Push Button port
    // INT Pin
    gpio_set_direction(PUSH_BUTTON_1, GPIO_MODE_DEF_INPUT);
    gpio_pullup_en(PUSH_BUTTON_1);
    gpio_intr_enable(PUSH_BUTTON_1);
    gpio_set_intr_type(PUSH_BUTTON_1, GPIO_INTR_LOW_LEVEL);

    // LED Pin
    gpio_set_direction(4, GPIO_MODE_OUTPUT);
    gpio_set_direction(5, GPIO_MODE_OUTPUT);

    // create Binary Semaphore and LED Task
    xBinarySemaphore = xSemaphoreCreateBinary();
    xTaskCreate(Led_task1, "led_task1", 1048, NULL, 2, NULL);
    xTaskCreate(Led_task2, "led_task2", 1048, NULL, 2, NULL);

    // install ISR service and add the handler
    gpio_install_isr_service(0);
    gpio_isr_handler_add(PUSH_BUTTON_1, gpio_isr_handler, NULL);


    while(1)
    {
        // no return from here
    }

}

void Led_task1(void *parameters)
{
    for(;;)
    {
        xSemaphoreTake(xBinarySemaphore, portMAX_DELAY);
        gpio_set_level(4, 1);
        vTaskDelay(300/portTICK_PERIOD_MS);
        gpio_set_level(4, 0);
        vTaskDelay(300/portTICK_PERIOD_MS);
        gpio_set_level(4, 1);
        vTaskDelay(300/portTICK_PERIOD_MS);
        gpio_set_level(4, 0);
        vTaskDelay(300/portTICK_PERIOD_MS);
        gpio_set_level(4, 1);
        vTaskDelay(300/portTICK_PERIOD_MS);
        gpio_set_level(4, 0);
        vTaskDelay(300/portTICK_PERIOD_MS);

    }
}

void Led_task2(void *parameters)
{
    for(;;)
    {
        gpio_set_level(5, 1);
        vTaskDelay(300/portTICK_PERIOD_MS);
        gpio_set_level(5, 0);
        vTaskDelay(300/portTICK_PERIOD_MS);
        gpio_set_level(5, 1);
        vTaskDelay(300/portTICK_PERIOD_MS);
        gpio_set_level(5, 0);
        vTaskDelay(300/portTICK_PERIOD_MS);
        gpio_set_level(5, 1);
        vTaskDelay(300/portTICK_PERIOD_MS);
        gpio_set_level(5, 0);
        vTaskDelay(300/portTICK_PERIOD_MS);

    }
}
Take a look at the interrupt handler code, gpio_isr_handler() where a push button activates the interrupt on a press:
					// ISR (Interrupt Service Routine) function
void IRAM_ATTR gpio_isr_handler(void* arg) {
    // Handle the interrupt here
    BaseType_t xHigherPriorityTaskWoken;
    xHigherPriorityTaskWoken = pdFALSE;

    xSemaphoreGiveFromISR(xBinarySemaphore, &xHigherPriorityTaskWoken);
    portYIELD_FROM_ISR(xHigherPriorityTaskWoken);
}
Here, you’ll see that there is a variable called xHigherPriorityTaskWoken. This variable is important since this will determine if a task switch can happen. It is initialized to false. Before an interrupt, any task can be running (LED_task2() or LED_task1()). Upon interrupt, a binary semaphore is given to the LED1_task() through xSemaphoreGiveFromISR(). Note of the ISR extension since this FreeRTOS API is used inside an ISR. The parameters of this API include the xHigherPriorityTaskWoken as pointer variable. If this is set to true, this means that a higher priority task is ready to switch to (which could be your interrupt processing function). The actual context switch to the task is executed by the portYIELD_FROM_ISR() statement which takes in the xHigherPriorityTaskWoken as parameter. It will only yield if the xHigherPriorityTaskWoken is true. This effectively means that this ISR routine can return to a different task from which it was called from, preserving task priority.
SHOP THIS PROJECT
-
Sale!


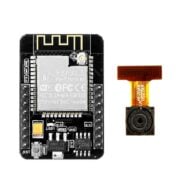
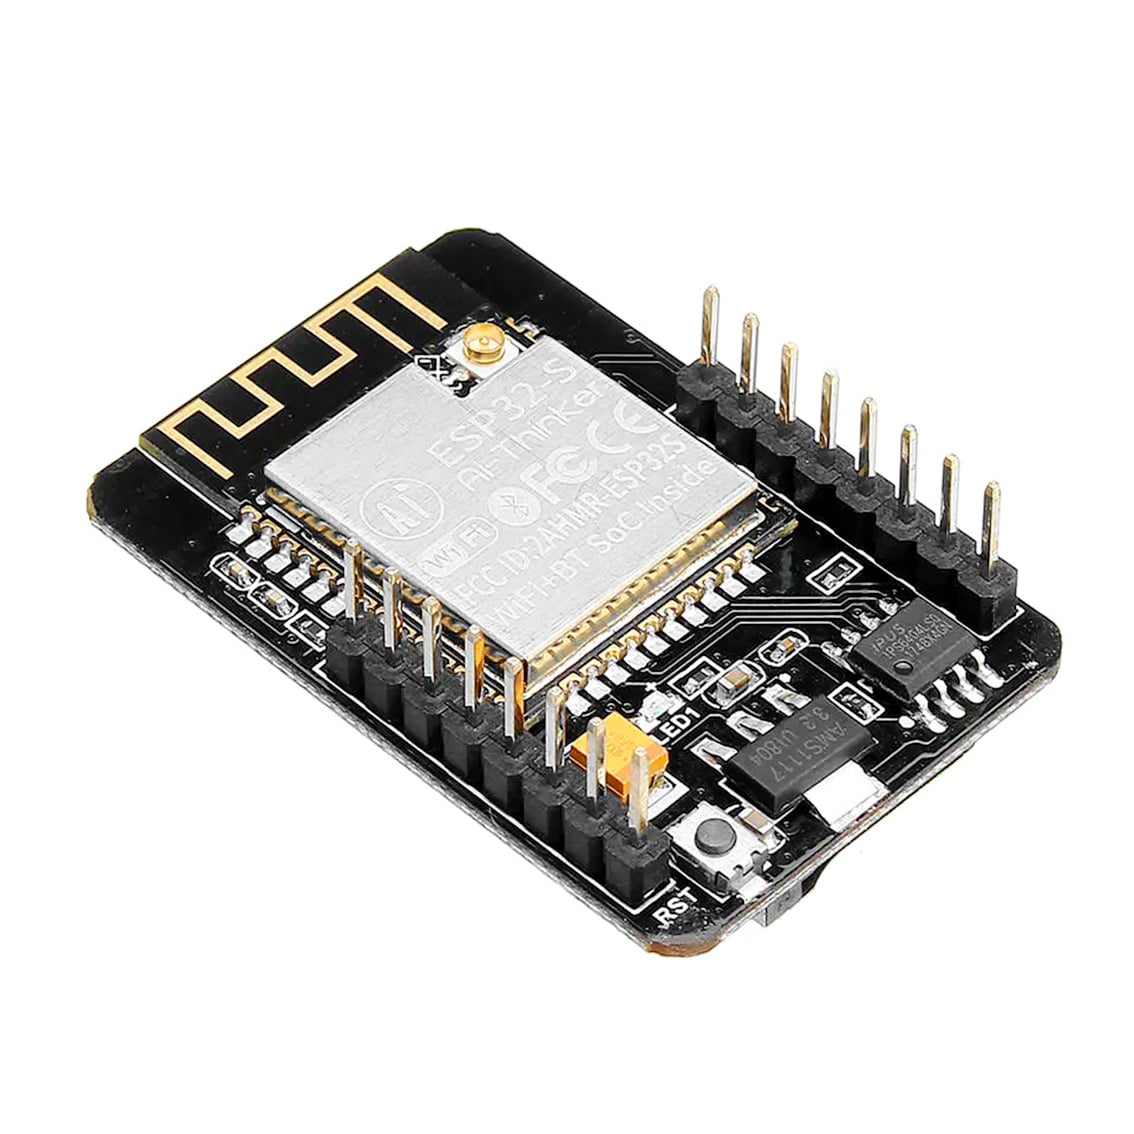
ESP32-CAM WiFi Bluethooth Development Board with OV2640 Camera Module
$31.95Original price was: $31.95.$29.95Current price is: $29.95. Add to cart